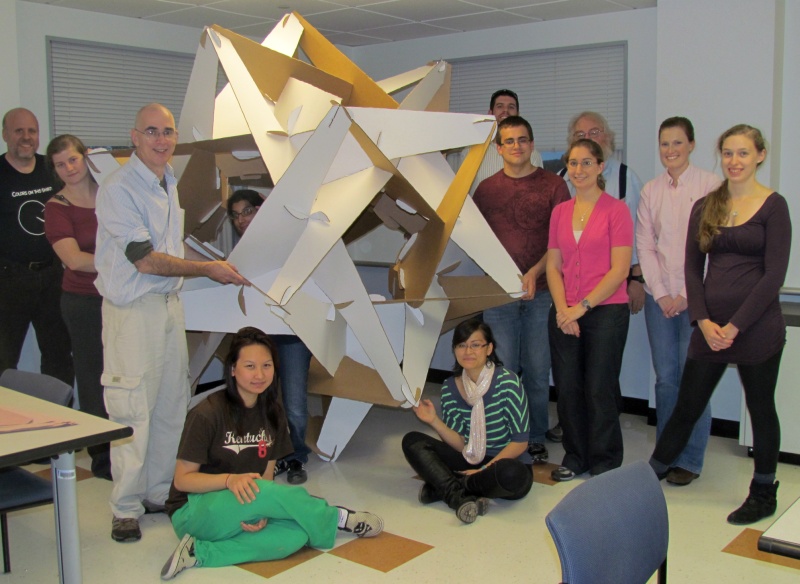
Here's a seven-foot tall cardboard
star I made with the math club at
Southern Connecticut State University. It took us
about three hours to cut out and assemble the sixty
pieces. It is an intricate example of icosahedral symmetry
based on a stellation of the icosahedron.
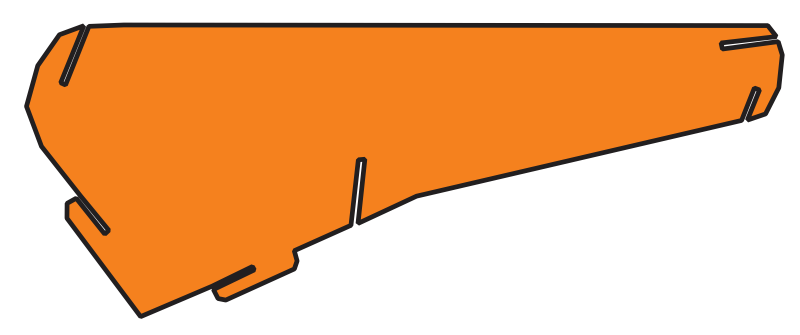
The template has six slots that are
used to make all the connections. I made a cardboard master that
is 38 inches long and just under 16 inches tall, so we could cut
three copies out from each sheet of 48x40x0.25 cardboard.
To make your own copy, start with this
pdf file.
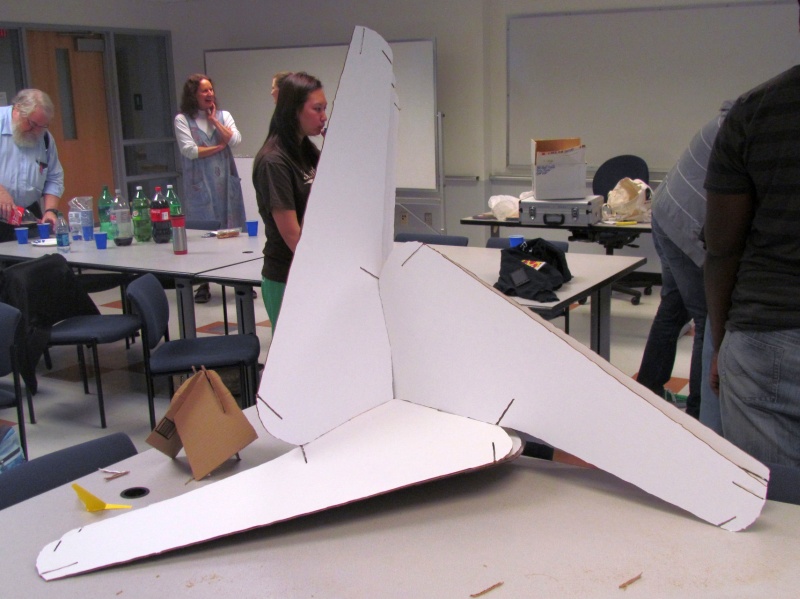
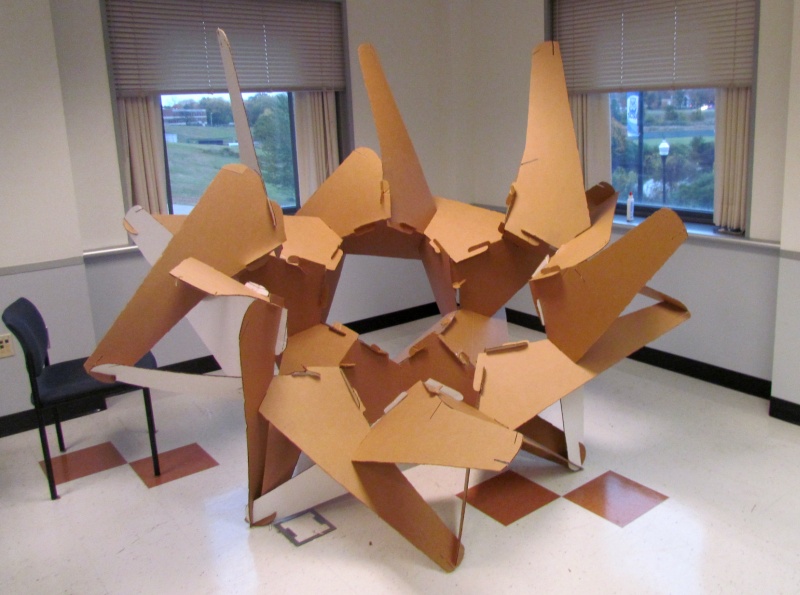
Three parts combine into a cyclic module with a three-way locking joint.
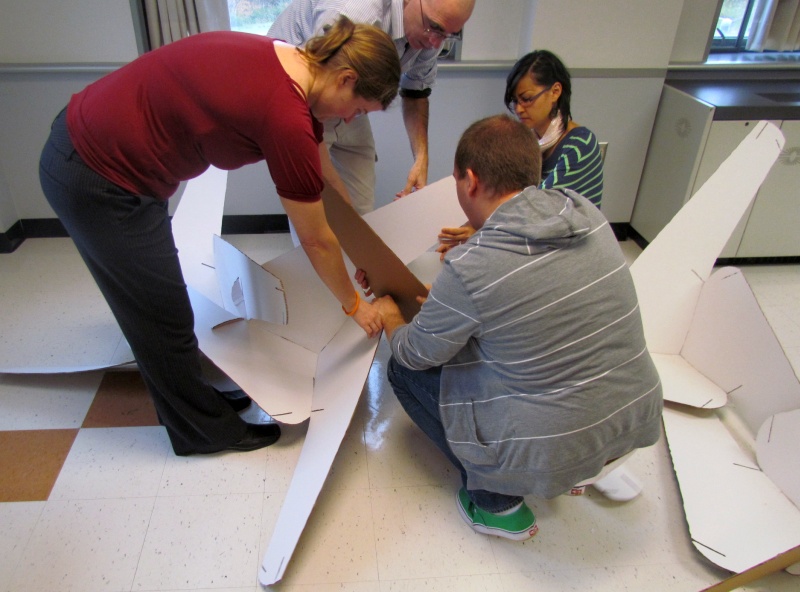
Then twenty modules are arranged more or less like an
icosahedron. It is rather amorphous when beginning, but we
quickly made a cycle of five modules that outline a pentagonal
opening.

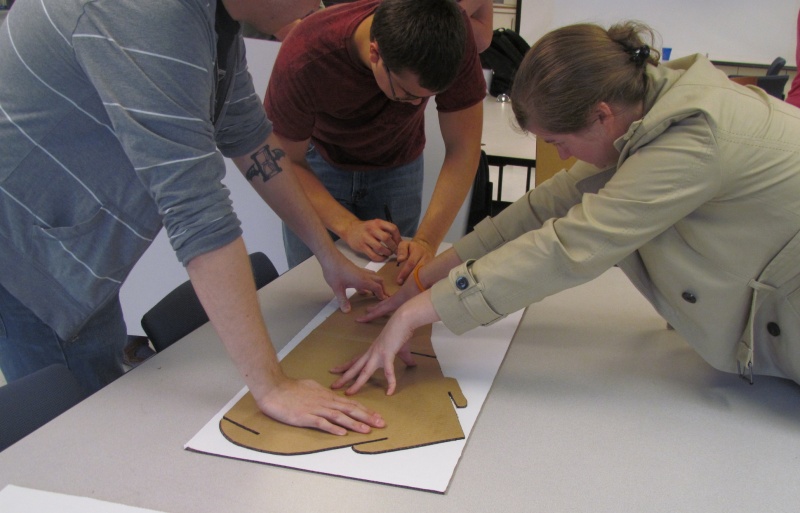
The first step was to trace the
master on sheets of cardboard with a marker. Be careful not to
flip it over. It is chiral and you need to make the
parts all with the same handedness.

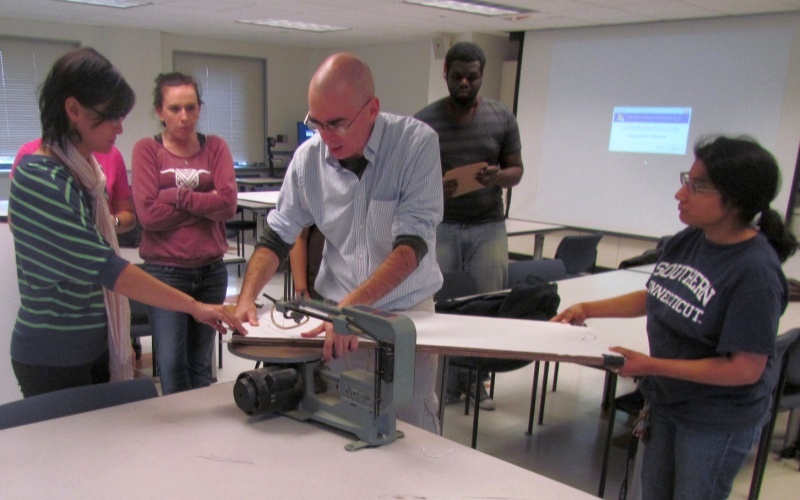
To cut the parts, we stacked
five sheets of 16x40 inch cardboard and held them together
with large binder clips. The top sheet has the template
traced on it and the four underneath are blank. We used a
scroll saw to cut the five sheets at once, moving the clips
around as necessary. A spiral blade went very easily
through the cardboard, but cutting was the most time
consuming step in the process.

Three parts combine into a cyclic module with a three-way locking joint.


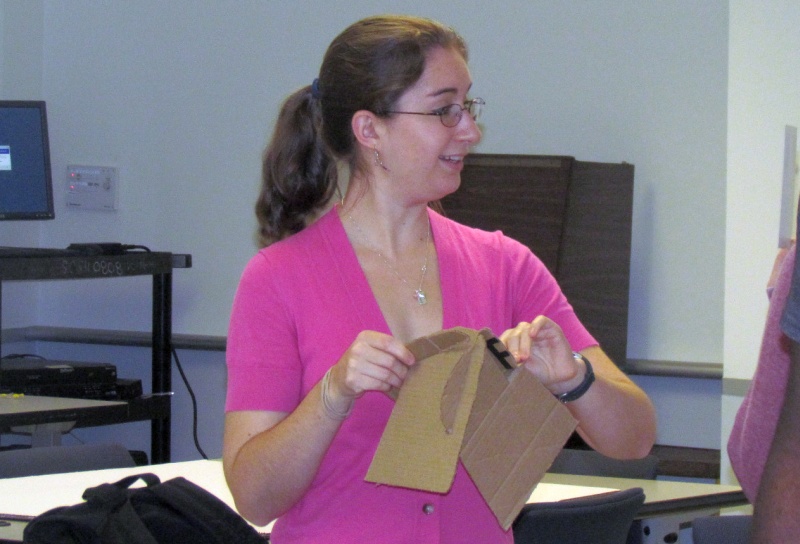
Some practice parts were useful
so everyone could learn the three-way joint at the tips of
the long arms. It is a bit tricky to get together, but
once assembled, it makes a nice lock so doesn't fall apart
easily.

The construction strategy is to
keep adding modules one at a time to the growing
structure. Whenever possible, position the next module
to complete a cycle of five, as that adds extra
strength. It worked out best to first make the
connections at the 2-fold axes, then make the 3-fold joints
at the tips of the arms.

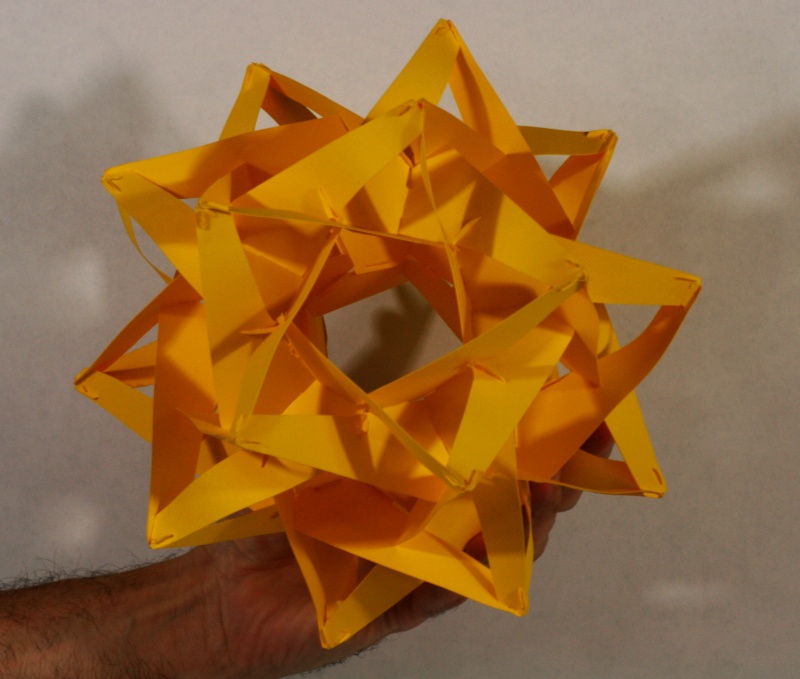
I brought along a seven-inch
paper model that I made before the workshop to practice the
assembly sequence and to verify I didn't make any major
errors in designing the template.

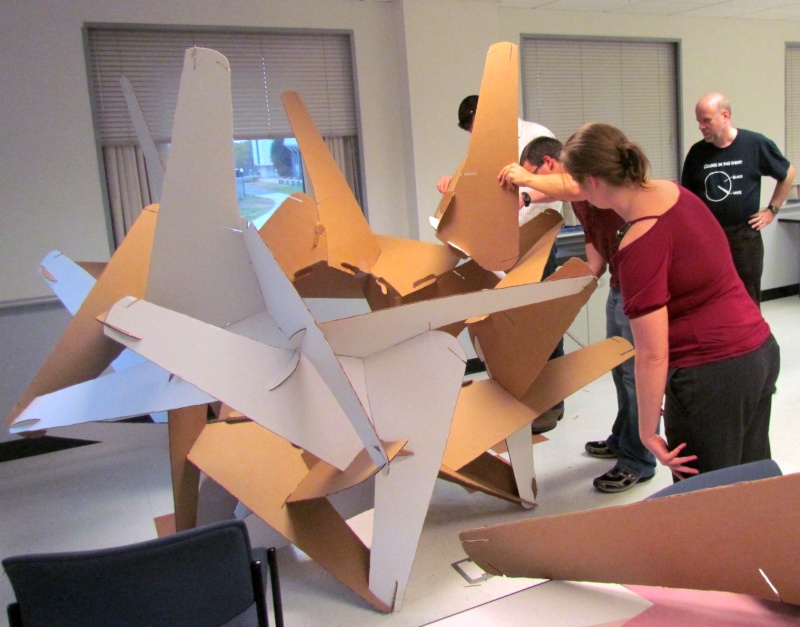
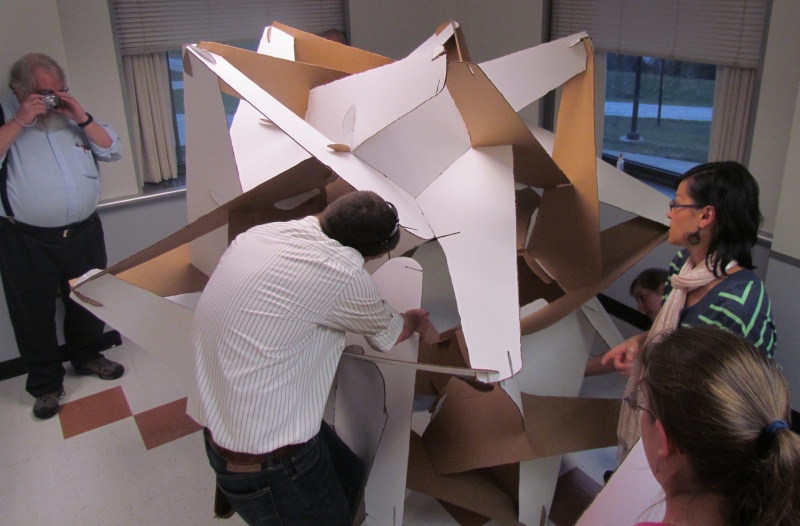
This shot at the half-way point
gives a nice view of the inside. The cardboard we used
is white on one side and brown on the other, adding some
visual interest. For a future version, it would be
interesting to try building one with five colors of
cardboard, following the five-color pattern for the
underlying icosahedron.

The final module needs to be
assembled inside the structure, as it wouldn't fit in
through the openings. Then it can be connected into its
neighbors like any other.
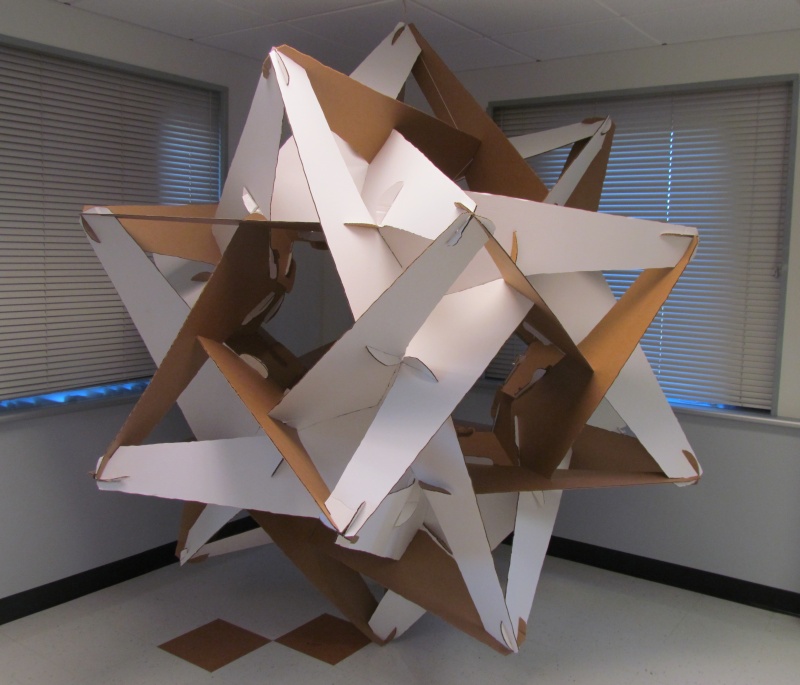

The completed star is quite
rigid and we suspended it from one point, so a three-fold
axis is vertical.
Watch the Cardboard Conglobulation assembly video here.
Watch the Cardboard Conglobulation assembly video here.
A big thank you to everyone who
participated, with a special thank you to Joseph Fields
and Elizabeth Field for inviting me. Thanks also to Joe for
taking these pictures and uploading lots more images here.