Here's a large cardboard construction I
made with lots of students at St.
Paul's School in Concord, NH.
(There are clamps on it as the glue is still drying. Later we removed the clamps and hung it up.)
(There are clamps on it as the glue is still drying. Later we removed the clamps and hung it up.)
The first step was to cut out the
parts using a scroll saw. We traced the template on to
32×16-inch rectangles of cardboard, then cut stacks of six
sheets at a time, held together with big black binder clamps.

If you want to make your own copy of this construction, you can start with the template PDF file, which is scaled to fit in a 32×16-inch rectangle. This gives a result almost six feet in diameter, but you can scale it larger or smaller if you like. The four flaps at the ends need to be folded for gluing and the three lines in the interior are registration marks that indicate where the parts come together.
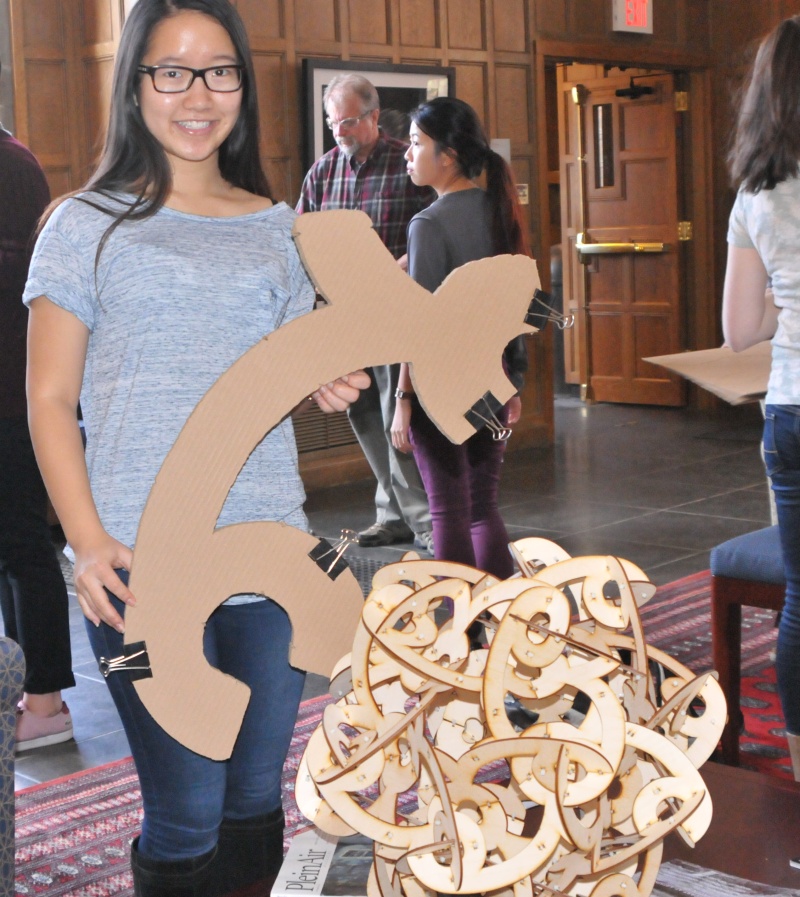
I also brought a small-scale model with me that I made from laser-cut 1/8 inch plywood. Looking at the model, you can see the single part shape appears sixty times in many different orientations.
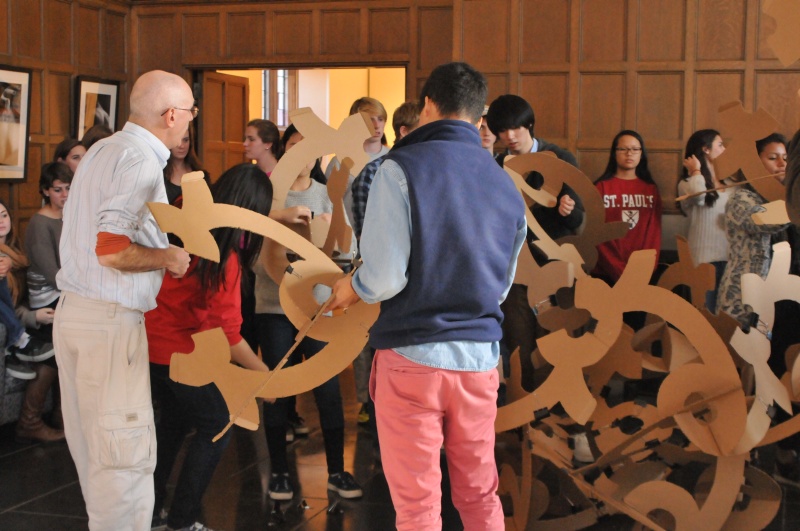
After cutting the parts, the flaps are folded and they are
assembled into groups of three, making a module you can see at
left. After the glue dried, we could take off the clamps
and begin to join the modules together.
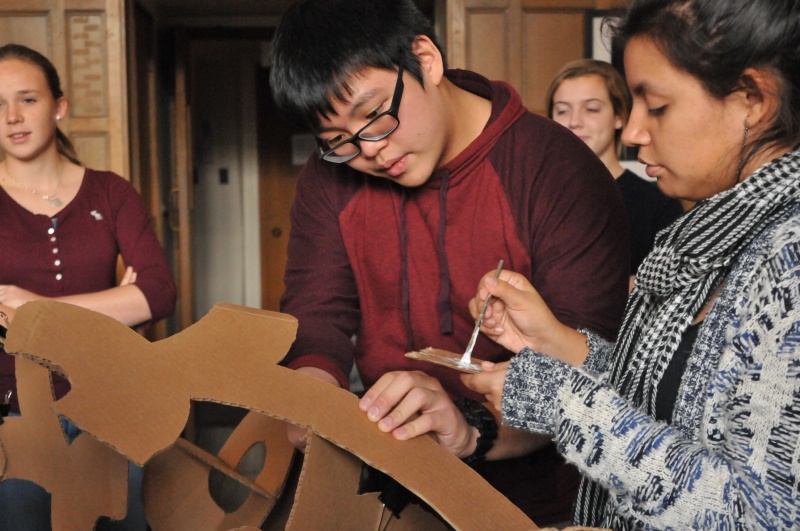
First, we fit the parts together using just clamps. Then if everything looks right, we take the clamps off one at a time and glue the connections. The glue is brushed on to the flaps and they are re-clamped until the glue dries.
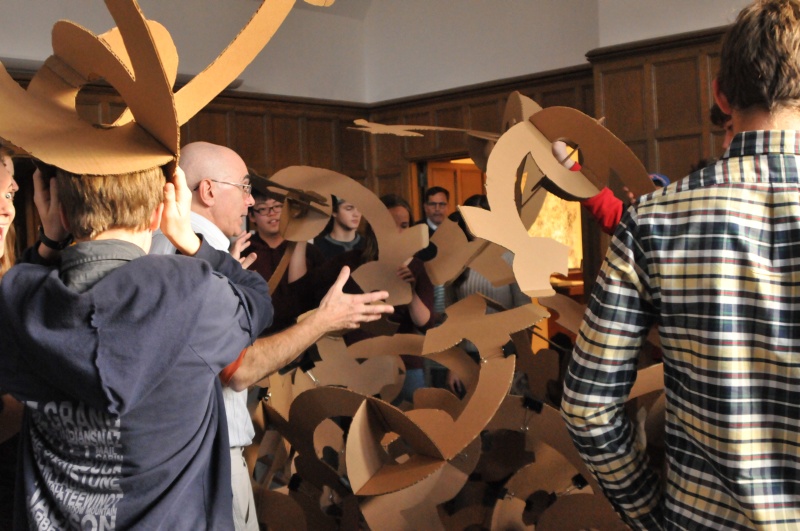
The construction gradually grew all day, starting at 8:30 until
we finished at 3:30, with a few hours break for a lecture and
lunch. Different classes came and went, with over 100
students participating all together.
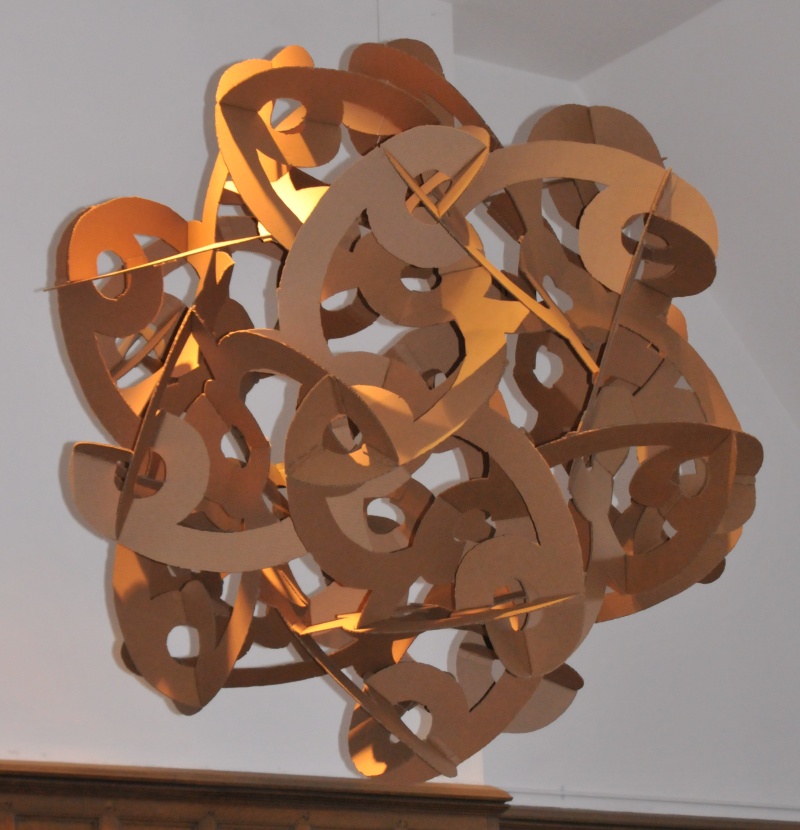

If you want to make your own copy of this construction, you can start with the template PDF file, which is scaled to fit in a 32×16-inch rectangle. This gives a result almost six feet in diameter, but you can scale it larger or smaller if you like. The four flaps at the ends need to be folded for gluing and the three lines in the interior are registration marks that indicate where the parts come together.
I also brought a small-scale model with me that I made from laser-cut 1/8 inch plywood. Looking at the model, you can see the single part shape appears sixty times in many different orientations.
First, we fit the parts together using just clamps. Then if everything looks right, we take the clamps off one at a time and glue the connections. The glue is brushed on to the flaps and they are re-clamped until the glue dries.
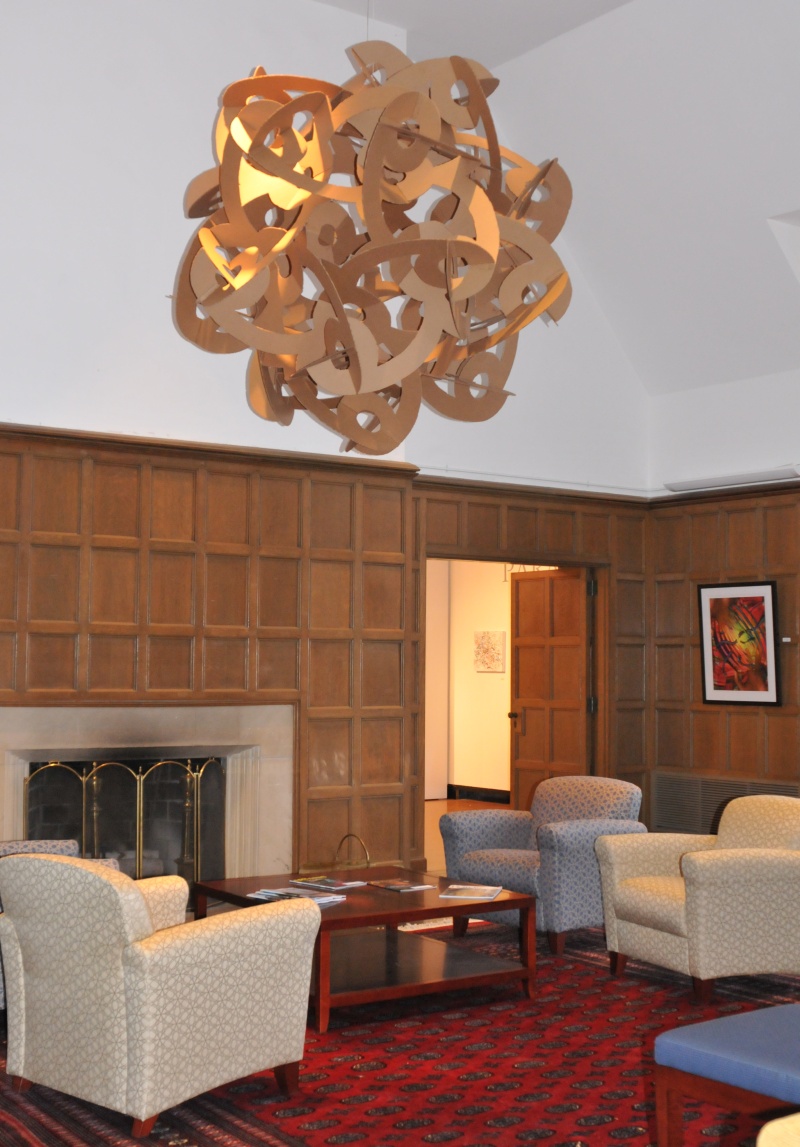
It is extremely rigid and we
suspended it from one corner, with a three-fold axis
vertical. It is something of an experiment to see how long
it will last...
To better understand the process, you can watch a video of a very similar construction here.
It uses an older template which results in a triangle on the interior instead of a circle.
To better understand the process, you can watch a video of a very similar construction here.
It uses an older template which results in a triangle on the interior instead of a circle.
Thank you everyone who participated, with
special thanks to Laura Hrasky, Hien Le, and Colin
Callahan for arranging everything and to Jana Brown for
taking these photos.