This is my very first model being made as a test, a simple tetrahedron.
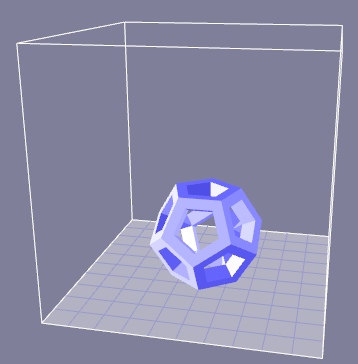
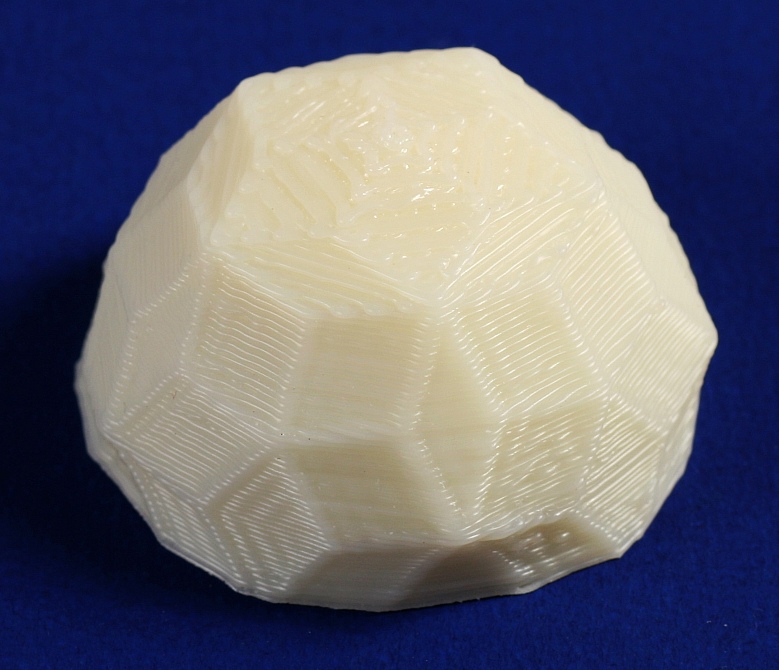
I soon progressed to open-faced forms of polyhedra. Above is how an open-faced dodecahedron should appear.
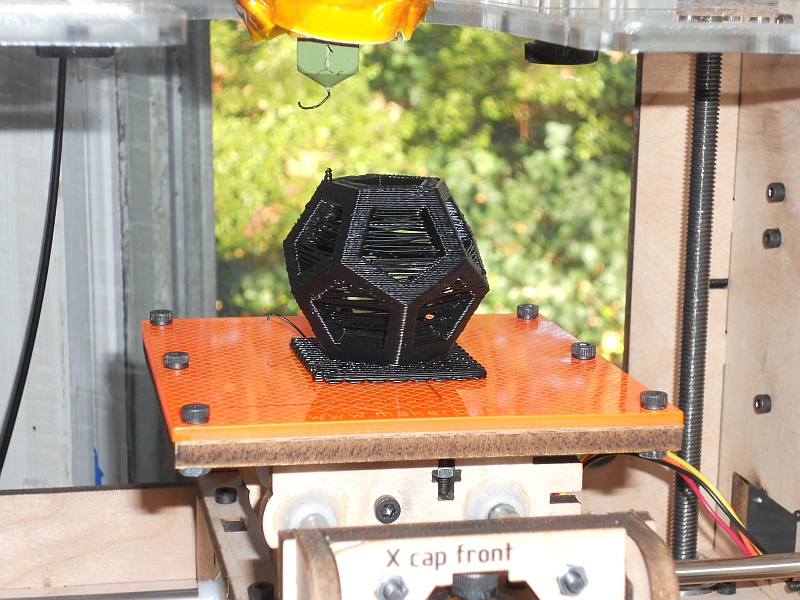
When you build it, some ooze connects across the open areas.
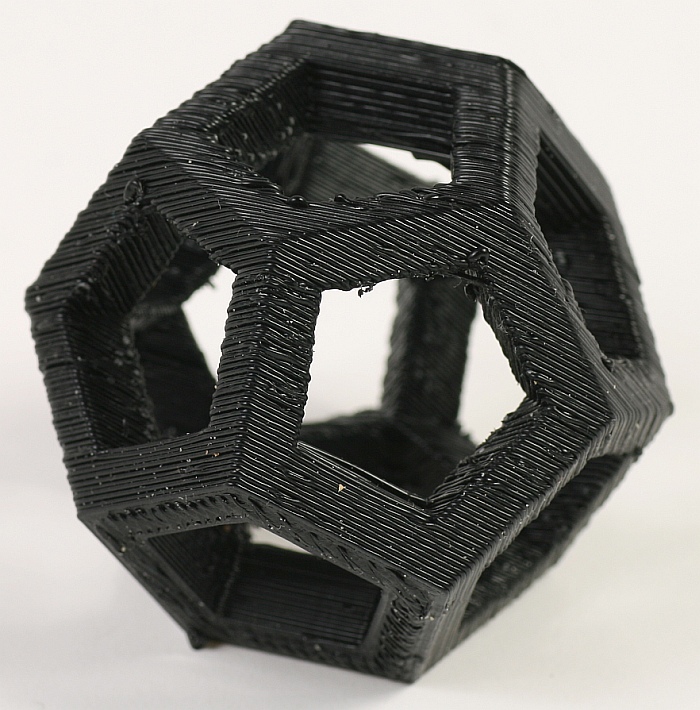
But it cleans up nicely by scraping it with an exacto knife.
Here are the stl files for all five platonic solids in openface form:
tetrahedron, cube, octahedron, icosahedron, dodecahedron.
As a tougher challenge, here is an open-faced rhombic triacontahedron nested inside another one.
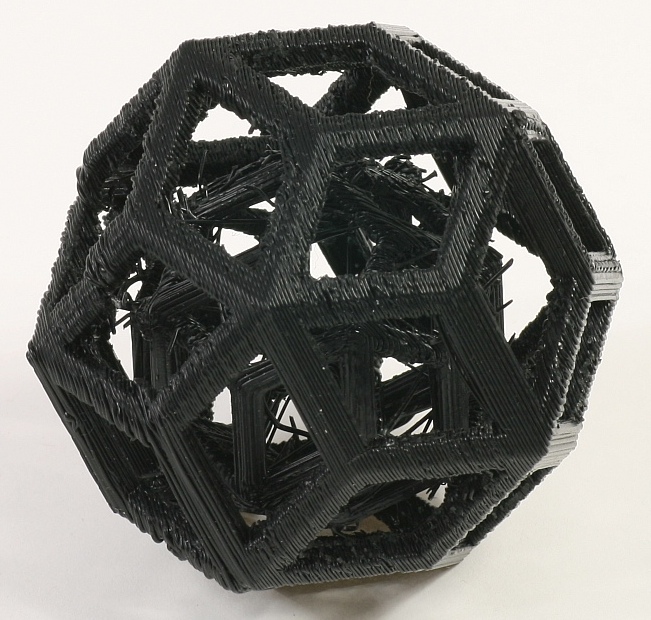
It could use a bit more cleaning up, but I was surprised at how well it did come out.
Here is the stl file.
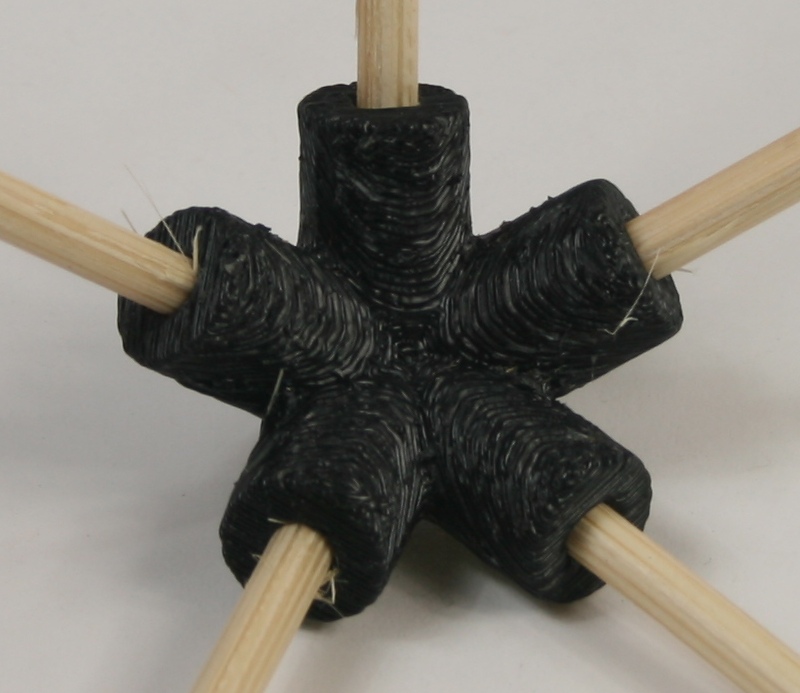
This is a connector for making icosahedra. The sticks are shishkabob skewers.
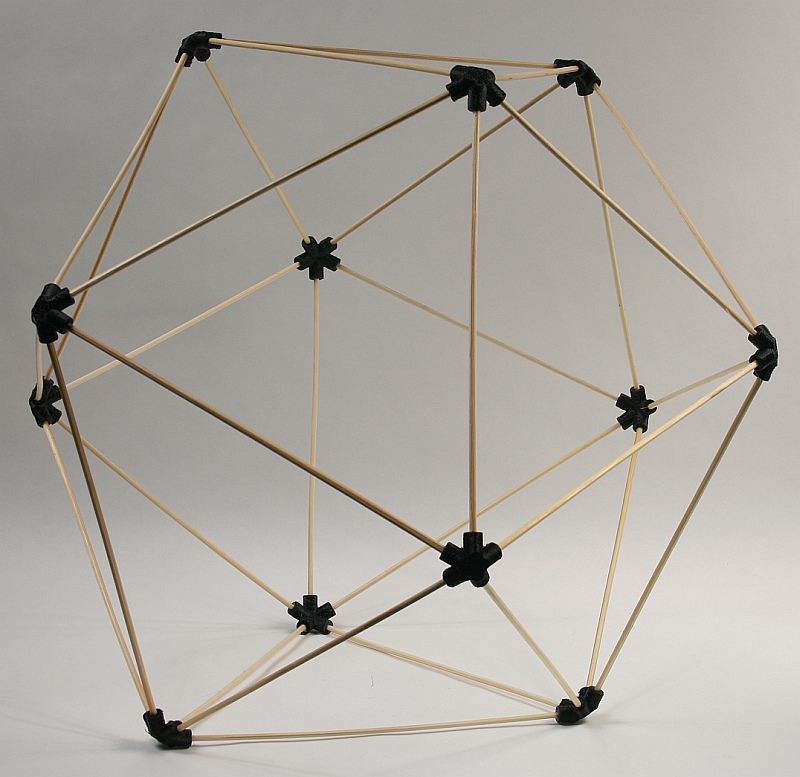
You need twelve hubs and thirty sticks to make a complete icosahedron. Here is the stl file.
This is an Apollonian gasket designed by Vi Hart. that you can read about on her blog.
This is another form of tetrahedron. Six notched sticks connect together.
I was thinking of it as a puzzle concept, but it is pretty easy to assemble.
And it needs the rubber bands to keep it assembled. Here's the stl file.
But if you take the same idea and apply it to a cube or octahedron, you can make a very nice 12-stick puzzle.
It is complex enough that I wrote a separate page about this puzzle. Here is the stl file.
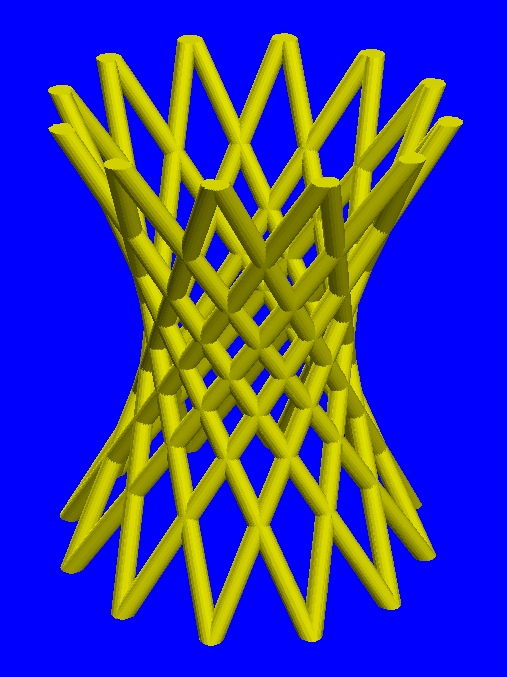
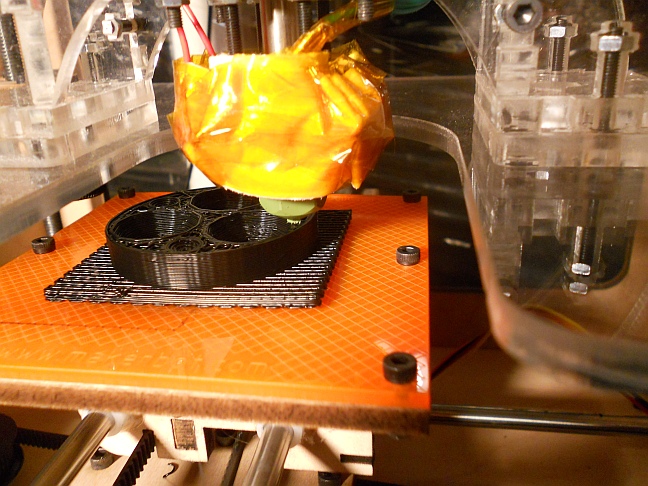
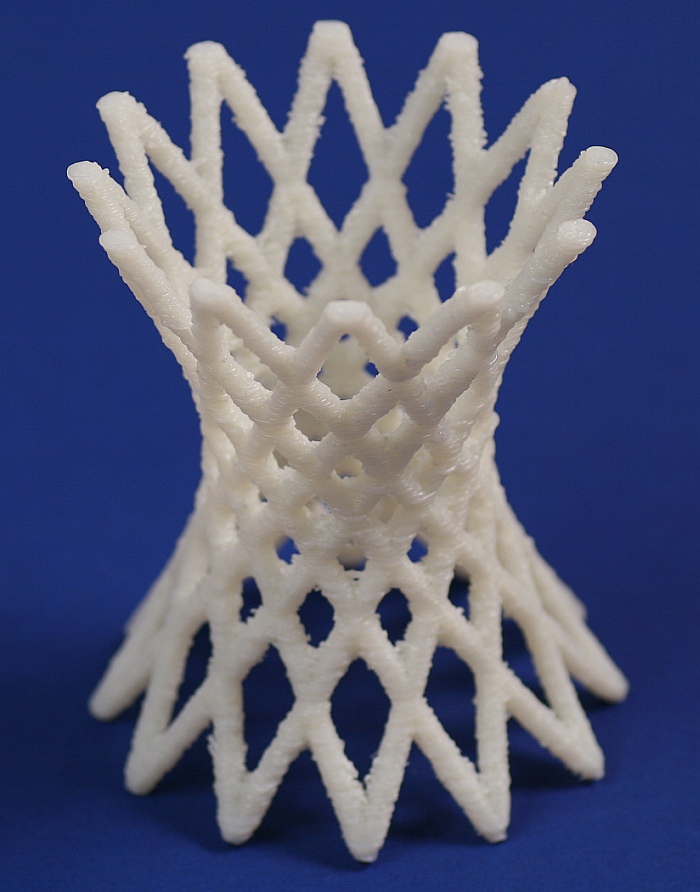
Above is a hyperboloid. It's fun to make one using sticks.
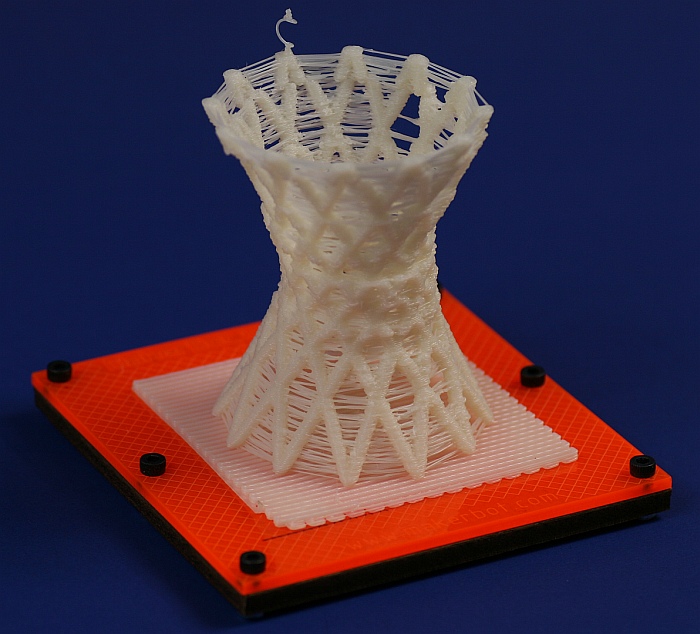
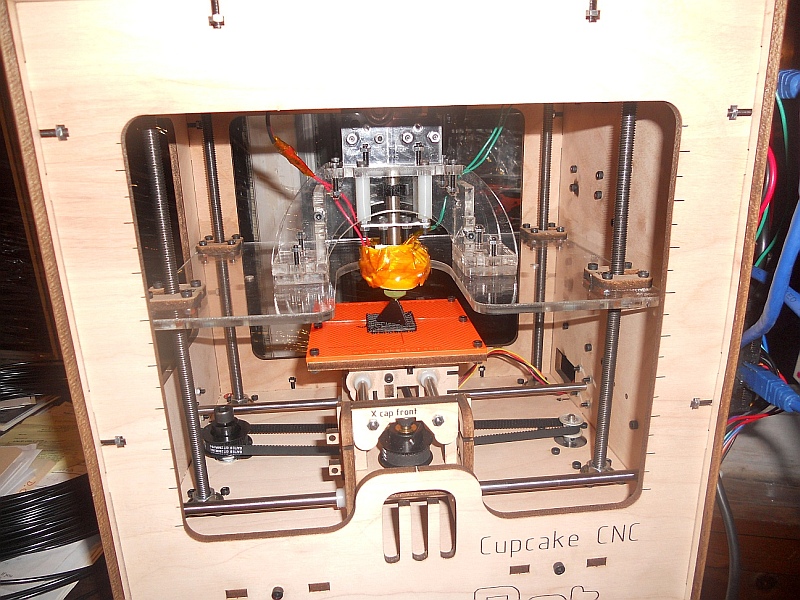
My first Makerbot version ran into some errors when the stepper motors lost registration several places.
I cranked up their voltage a hair, reoiled the sliders, and it came out fine.
It took lots of exacto knife cleaning to remove all the ooze. Here's the stl file.
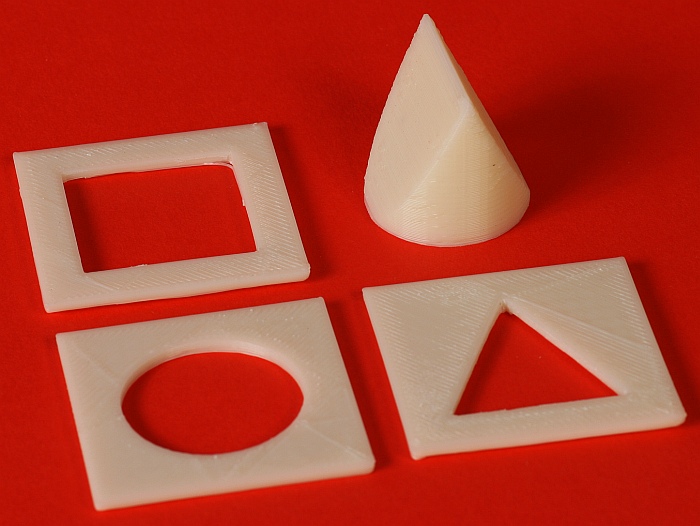
Here's a version of the classic
visualization puzzle to design a shape which fits snugly through
a square hole, a circular hole and a triangular hole. The
answer is the wedge shape shown here, which has a circular base,
but looks square from one side and triangular from
another. Although I don't usually use 3D printers to make
flat parts, (because there are usually better ways to make flat
parts) here I made not only the wedge but also three holes for
it to pass through.
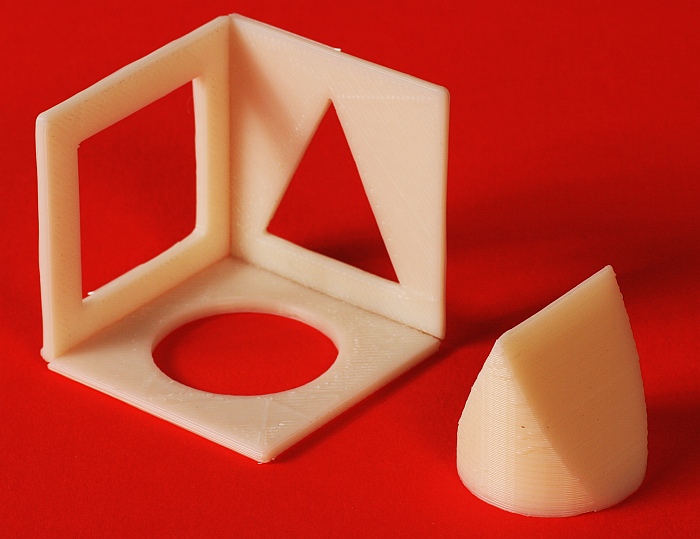
Gluing the three panels
together---I used plumber's PVC cement---gives a frame which
illustrates the three different projections of this shape, and
gives you someplace to play with your wedge.
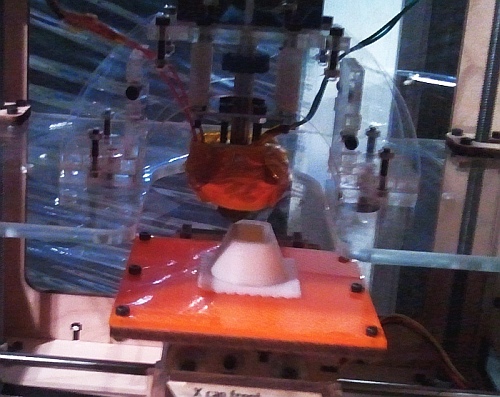
And as a bonus: this snapshot shows that the wedge is
hollow. At this point in the build, I used tweezers to
drop two 3mm nuts into the cavity, so they are sealed in and it
rattles very nicely. And if I ever use up all my other
spare 3mm nuts for holding the Makerbot together, I know where I
can get an emergency supply. Here are the four stl files:
wedge, square hole, circular hole, triangular hole.
Here's the outside of a light dimmer knob in the shape of a rhombic enneacontahedron. A complete sphere would have 90 rhombic facets, but this is just slightly more than a hemisphere. There are two different rhombus shapes.
The inside is largely hollow and has the proper 1/4 inch socket for a standard U.S. light dimmer knob.
It came out well. The structure is clearer in person than in this photograph. The hole on the inside came out a bit messy on my Makerbot, but it cleans out easily with a 15/64 inch drill, and then works fine on the wall switch. Here's the stl file.
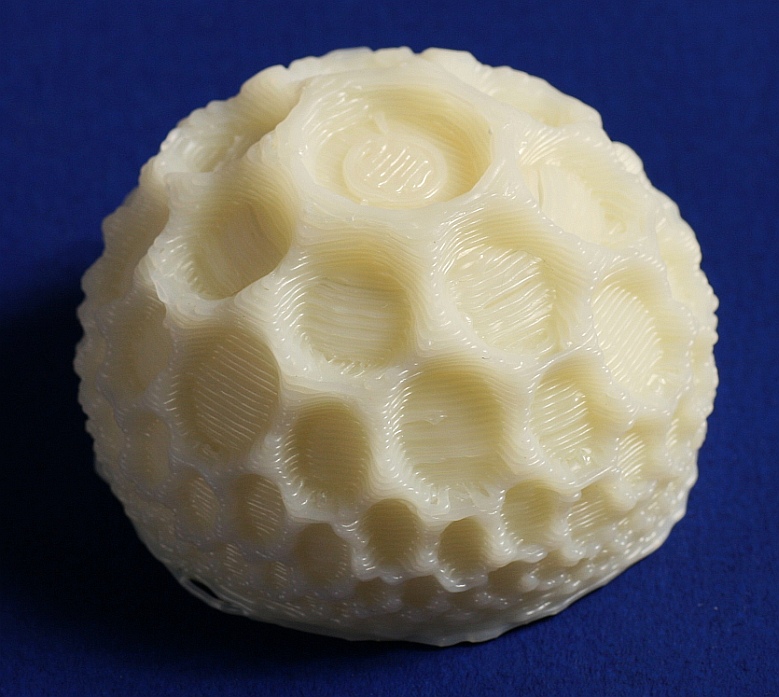
I decided to make another design, this time with higher relief. This is the (7,6,6) hyperbolic tessellation, mapped into the Poincare disk, and draped over about two thirds of the sphere. Very cool! Here's the stl file.
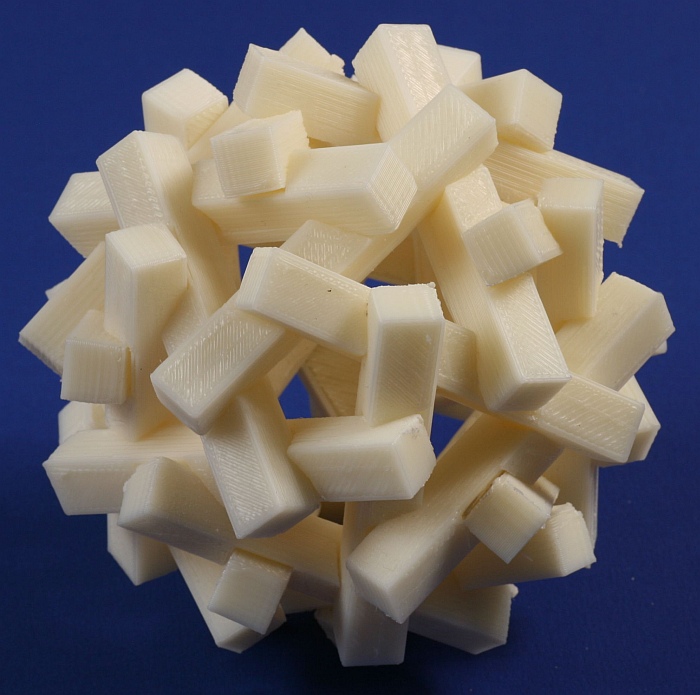
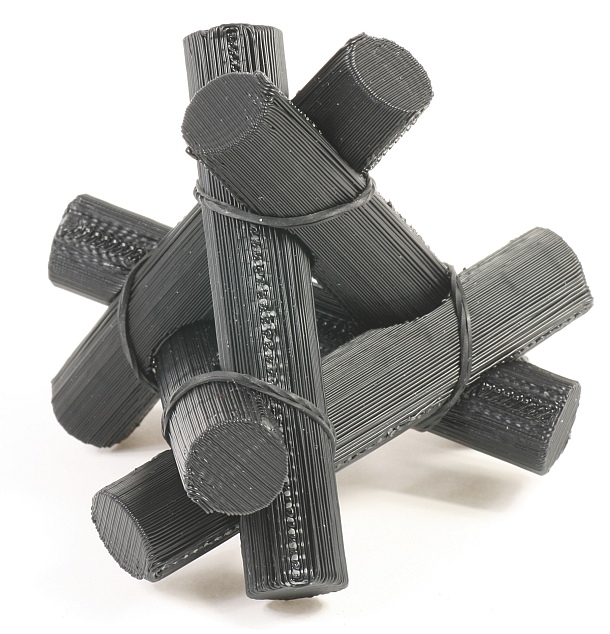
Above is another stick puzzle. It is assembled from thirty sticks you can build from this stl file.
A paper describing the theory behind these puzzles and my Mathematica code for designing them is here.
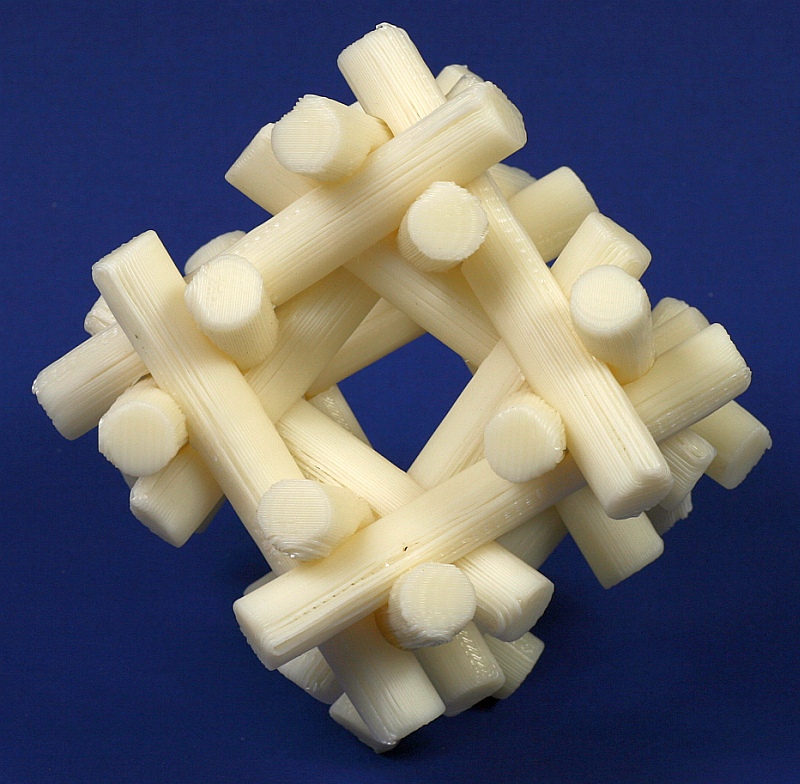
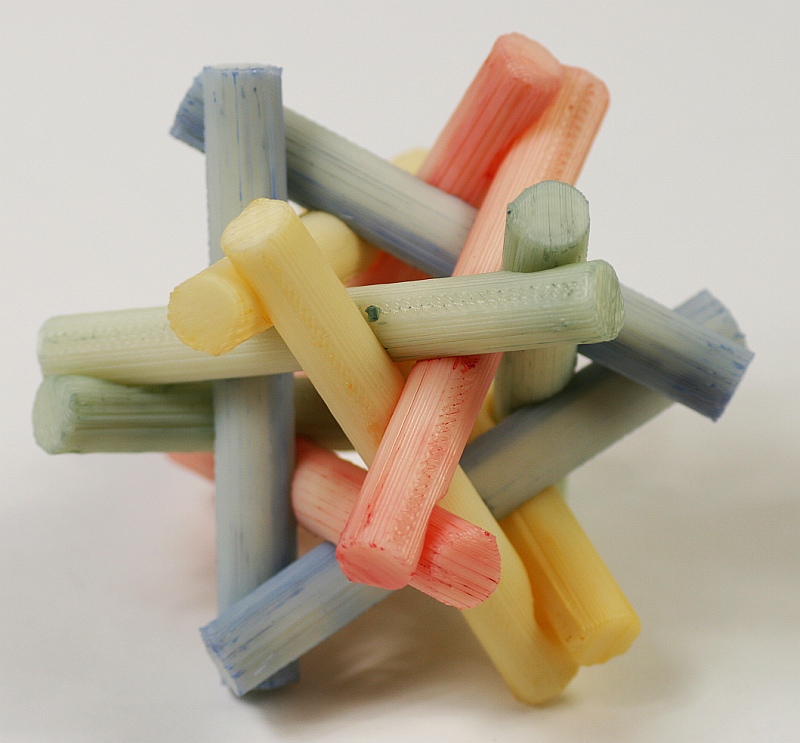
And here is another example in the
stick puzzle series. This took me a bit of work to clean
up the messy ooze threads in the notches with a cylindrical
cutter on a dremel before I could get it together. I won't
give detailed assembly directions except to say that rubber
bands help and this is harder than the other stick puzzles
above, so do them first for warm-up. Here are the necessary stl
files for the inner stick and
the outer stick. Making
twelve of each is an ideal job for the Automated
Build Platform. There is more information on the design,
including a rotating animation, on this page.
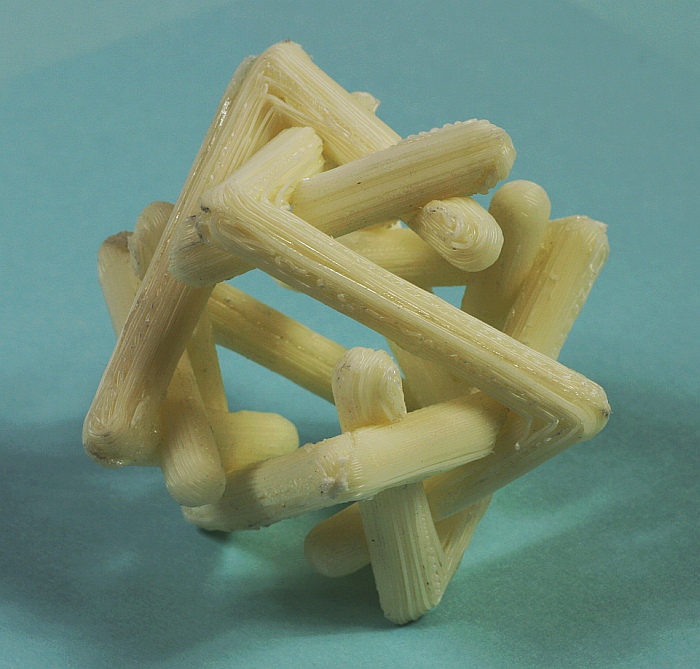
And here is yet another experiment in my series of stick puzzles. It is described in some detail, with rotating animations, here.
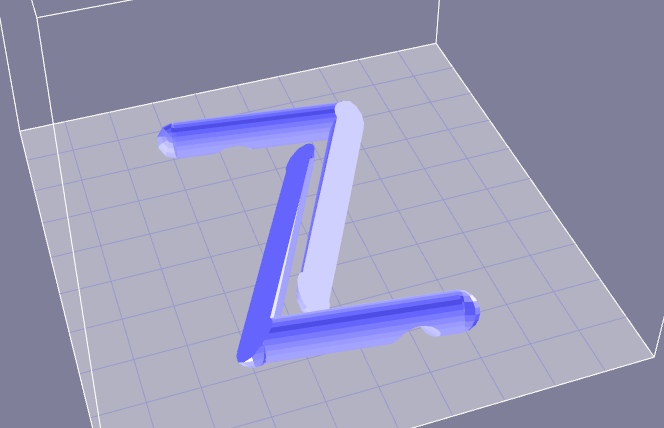
The puzzle piece is a 3D zigzag
that is difficult to make on the Makerbot without support, so I
sliced piece each into two identical halves which can easily lie
flat. The stl file is here. You need to build
it six times (totaling twelve halves) for the complete
puzzle. Glue halves together along their flat surface to
make one puzzle piece. Again, some scraping and sanding
was needed, but I think it does make a nice puzzle, not too
hard, but not trivial.
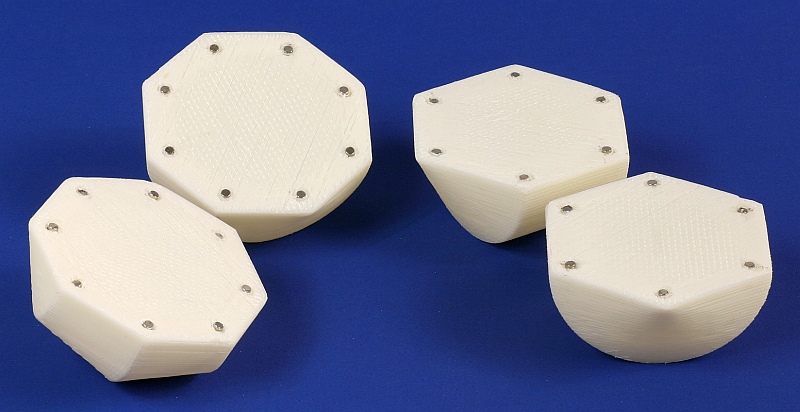
I was inspired by Chris Palmer's
sphericons on Thingiverse to make some sphericons of my
own. His have elegant curves to the cross sections, but I
wanted some straight-sided ones, to make clear the basic
mathematical principles. Above are six-sided and
eight-sided examples, opened so you can see the magnets
inside.
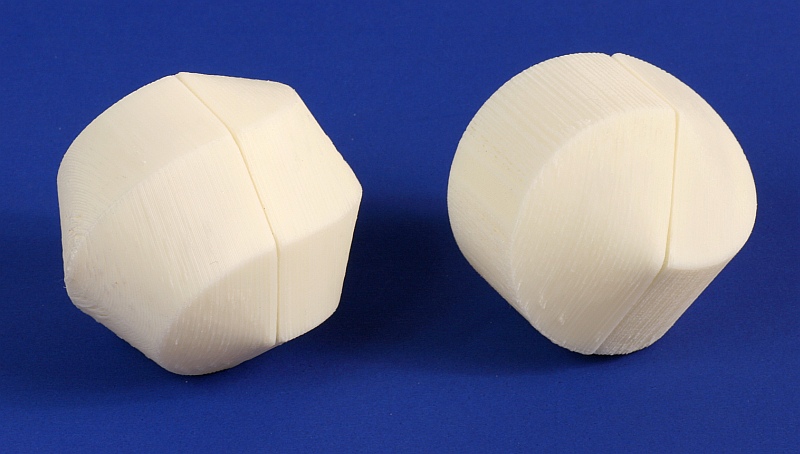
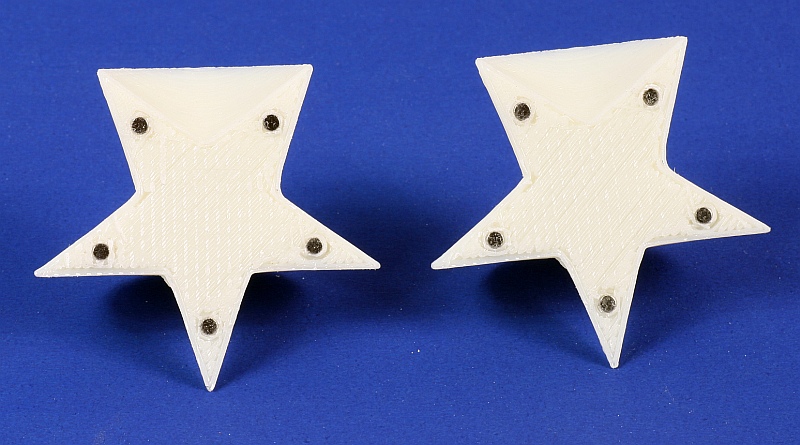
I also wanted one based on a five-pointed star. This is very cool to play with in all five of its possible configurations. There are mode photos of it in the Math Mondays post here. You can make your own copies with these stl files: 6-sided (rotated about a vertex), 6-sided (rotated about a face), 8-sided (rotated about a vertex), 8-sided (rotated about a face), 5-sided, 5-sided star. These are all scaled to receive cylindrical magnets that are 1/8 inch in diameter and 1/8 inch long.
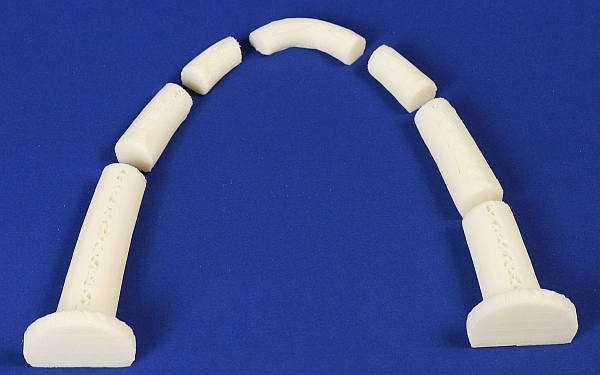
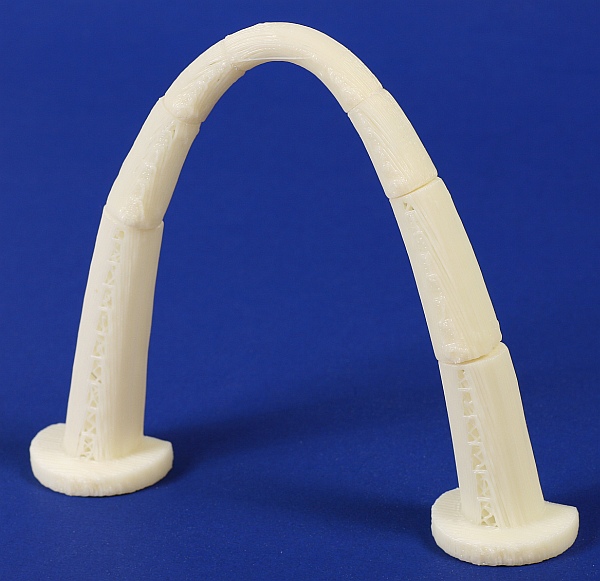
My Cupcake's motherboard died and it took me a while to get it repaired, so it has been a while since I posted anything here. But now that it is working again, here is a catenary arch made of seven pieces. The puzzle is to assemble them (with no glue) into the arch below.
. . .Each can be assembled in
various ways, all of which roll very nicely.
I also wanted one based on a five-pointed star. This is very cool to play with in all five of its possible configurations. There are mode photos of it in the Math Mondays post here. You can make your own copies with these stl files: 6-sided (rotated about a vertex), 6-sided (rotated about a face), 8-sided (rotated about a vertex), 8-sided (rotated about a face), 5-sided, 5-sided star. These are all scaled to receive cylindrical magnets that are 1/8 inch in diameter and 1/8 inch long.
My Cupcake's motherboard died and it took me a while to get it repaired, so it has been a while since I posted anything here. But now that it is working again, here is a catenary arch made of seven pieces. The puzzle is to assemble them (with no glue) into the arch below.
I'll add more to this page as I get time. Come back occasionally and check...