This page shows the construction of Comet! at Albion College on
saturday September 13, 2008.
(All nine orbs of the completed sculpture are shown here.)
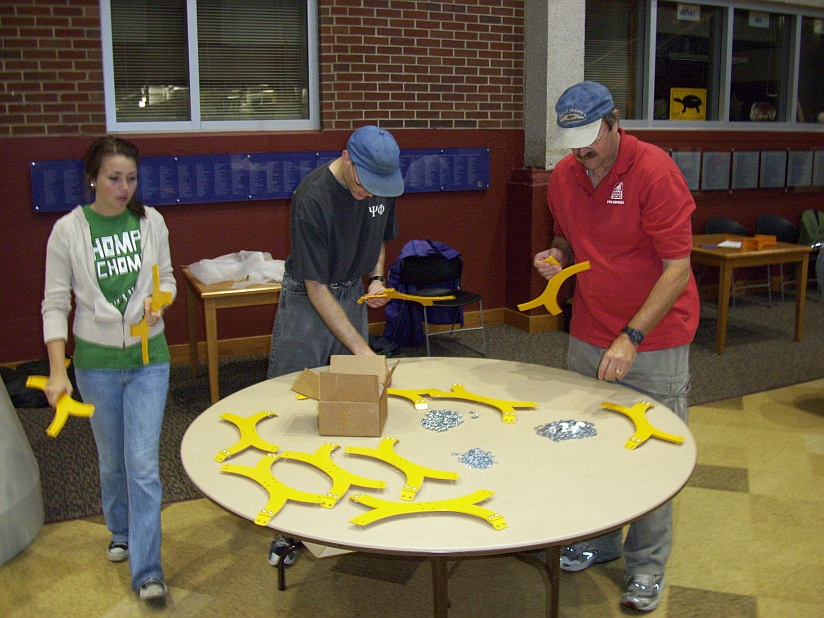
We advertised a sculpture barn raising and divided into eight groups for eight orbs.
(All nine orbs of the completed sculpture are shown here.)
We advertised a sculpture barn raising and divided into eight groups for eight orbs.
Each group has a different set of
90 parts and 120 brackets to assemble.
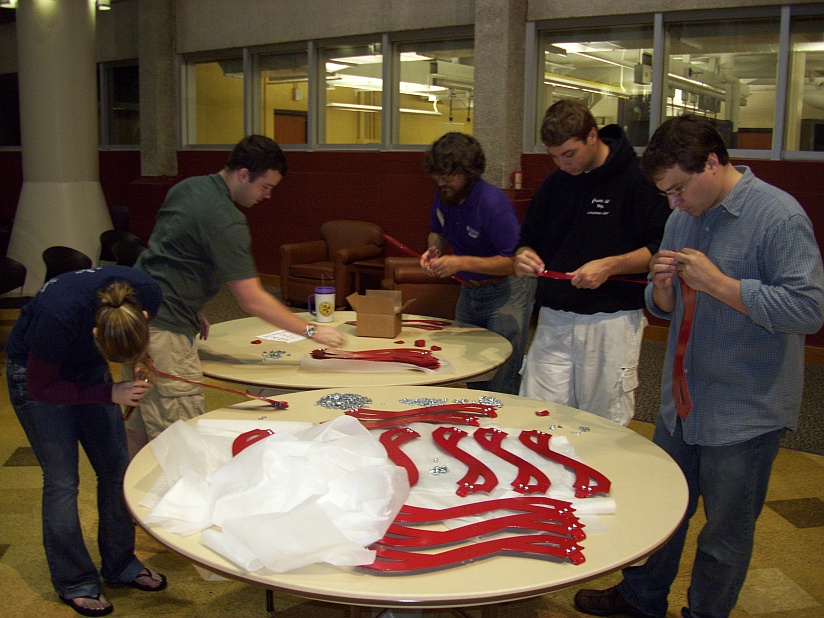
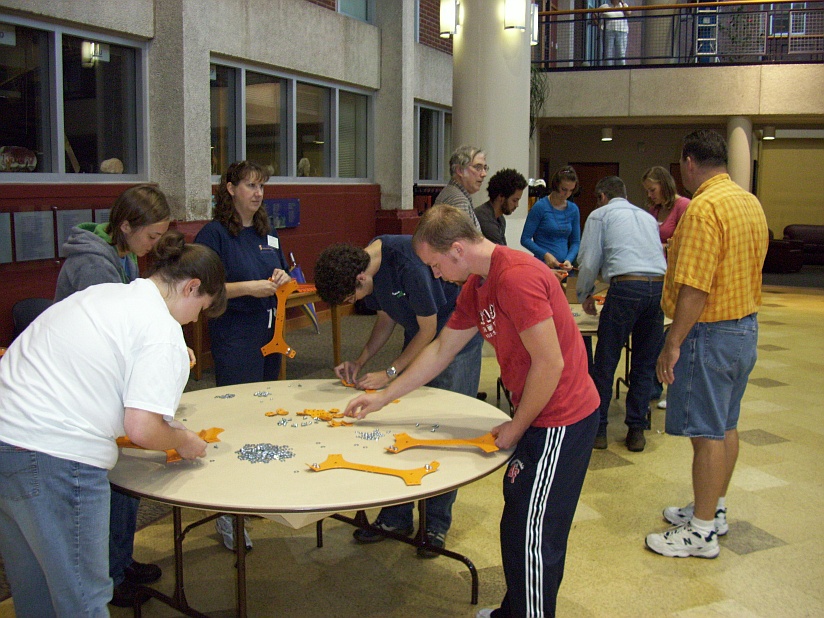
The first step is to put two brackets on each of these thirty inner parts.
The first step is to put two brackets on each of these thirty inner parts.
Then the powder-coated laser-cut aluminum parts are joined together.
The design is slightly different for each orb.
Six hundred nuts and bolts are used in each orb, so it takes a while.
Piece by piece, each one slowly grows.
Anyone who can put a bolt in a hole can participate.
As it gets larger, many people can work at once, from all sides.
Each orb is 42 to 48 inches in diameter.
When the inner assembly is complete and the nuts are all tightened, we break for some photos:
There are two spare parts of each shape.
Each group has a slightly different inner form to make.
This one looks like a curvy icosahedron.
Each is based on the thirty face planes of a rhombic triacontahedron.
This one looks more like a curvy dodecahedron.
Remember, these are just the inner cores of each orb.
There are still 60 more pieces and 60 more brackets to add to each!
Next, we connect sixty brackets each to an outer piece.
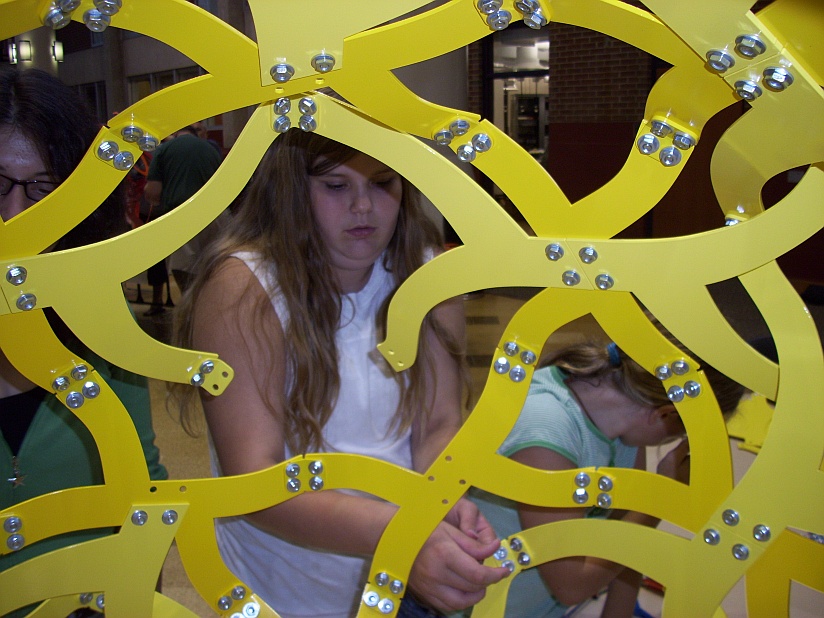
These new parts bolt inside the inner parts making an intricate weave.
The outer parts make an interesting tangle as they join.
Each orb has a slightly different tangle, which morphs from one to the next.
The ins and outs can be puzzling.
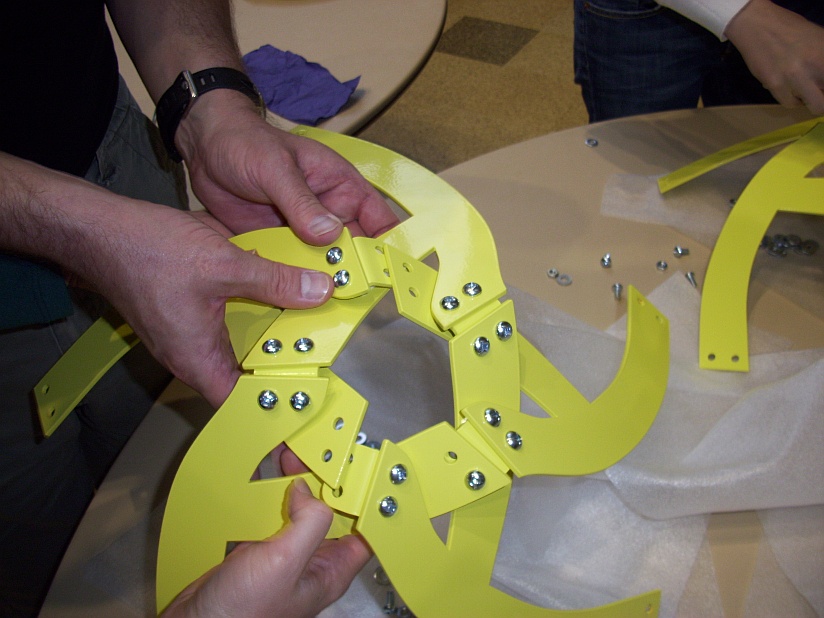
Orb 1 has a very tight connection with little space for fingers behind the brackets.
In the end, everything fits somewhere.
After two and a half hours, we have a room full of sculptures.
A final step is to tap and listen for the buzzing of any loose nuts that need tightening.
Three bolts are replaced with eye-bolts for hanging.
Small chains clip on to the eye bolts.
Now they are ready to be installed.
Each has two colors, ranging from yellow, through shades of orange, to red.
They are lifted and connected to chains that were previously hung from the ceiling.
The highest one is pretty high!
The total effect of all nine is wonderful --- like a comet flying through the room.
Notice the flying dinosaurs. I wonder, how do they feel about comets?
Though it was raining, I really like this view from outside.
Watch a very cool time-lapse video of the entire construction here.
The design and preparation for the sculpture is described here.
The previous night's practice assembly is shown here.
The Albion College News Office has a video here.
The Math/CS Department has more images here.
Photos by a participant are on Flicker, here.
All nine orbs of the completed sculpture are shown here.
A paper with additional details, written for ISAMA 2009, is here.
Thank you to Gary Wahl and Chris Amos for photography.
Thank you to Albion sophomore Alex Freeman for shooting and editing the video.
Thank you to Caster Concepts for laser
cutting and to Finishing Touch for powder coating.
Thank you to the many people who attended and were part of the event. A big thank you to the group leaders who participated by attending the previous night's practice preparation and then leading the construction all day at one table: David Anderson (Math/CS), Amy Bethune (Chemistry), Mark Bollman (Math/CS), Lynne Chytilo (Art & Art History), Michael Dixon (Art & Art History), Andrew French (Chemistry), Darren Mason (Math/CS), Vanessa McCaffrey (Chemistry), Karla McCavit (Math/CS), Carrie Menold (Geology), Robert Messer (Math/CS), Aaron Miller (Physics), Daniel Mittag (Philosophy), Martha O'Kennon (Math/CS), and Gary Wahl (Art & Art History).
And a special huge thank you to Prof David Reimann, chair of the Mathematics and Computer Science department, who championed this project and took care of many aspects of the organization, with support from Darren Mason and Gary Wahl.